
Shop Pants by Open Studio
“I’ve made a terrible decision, “ my sister said as we sat, sweating, in the sauna. We were celebrating our birthdays with a day trip to the spa. She was deeply concerned about the new windows in her kitchen; were they too tiny? She was having a classic designer freakout about a small detail in a big project. I’m happy to report that it all turned out fine, beautifully even.
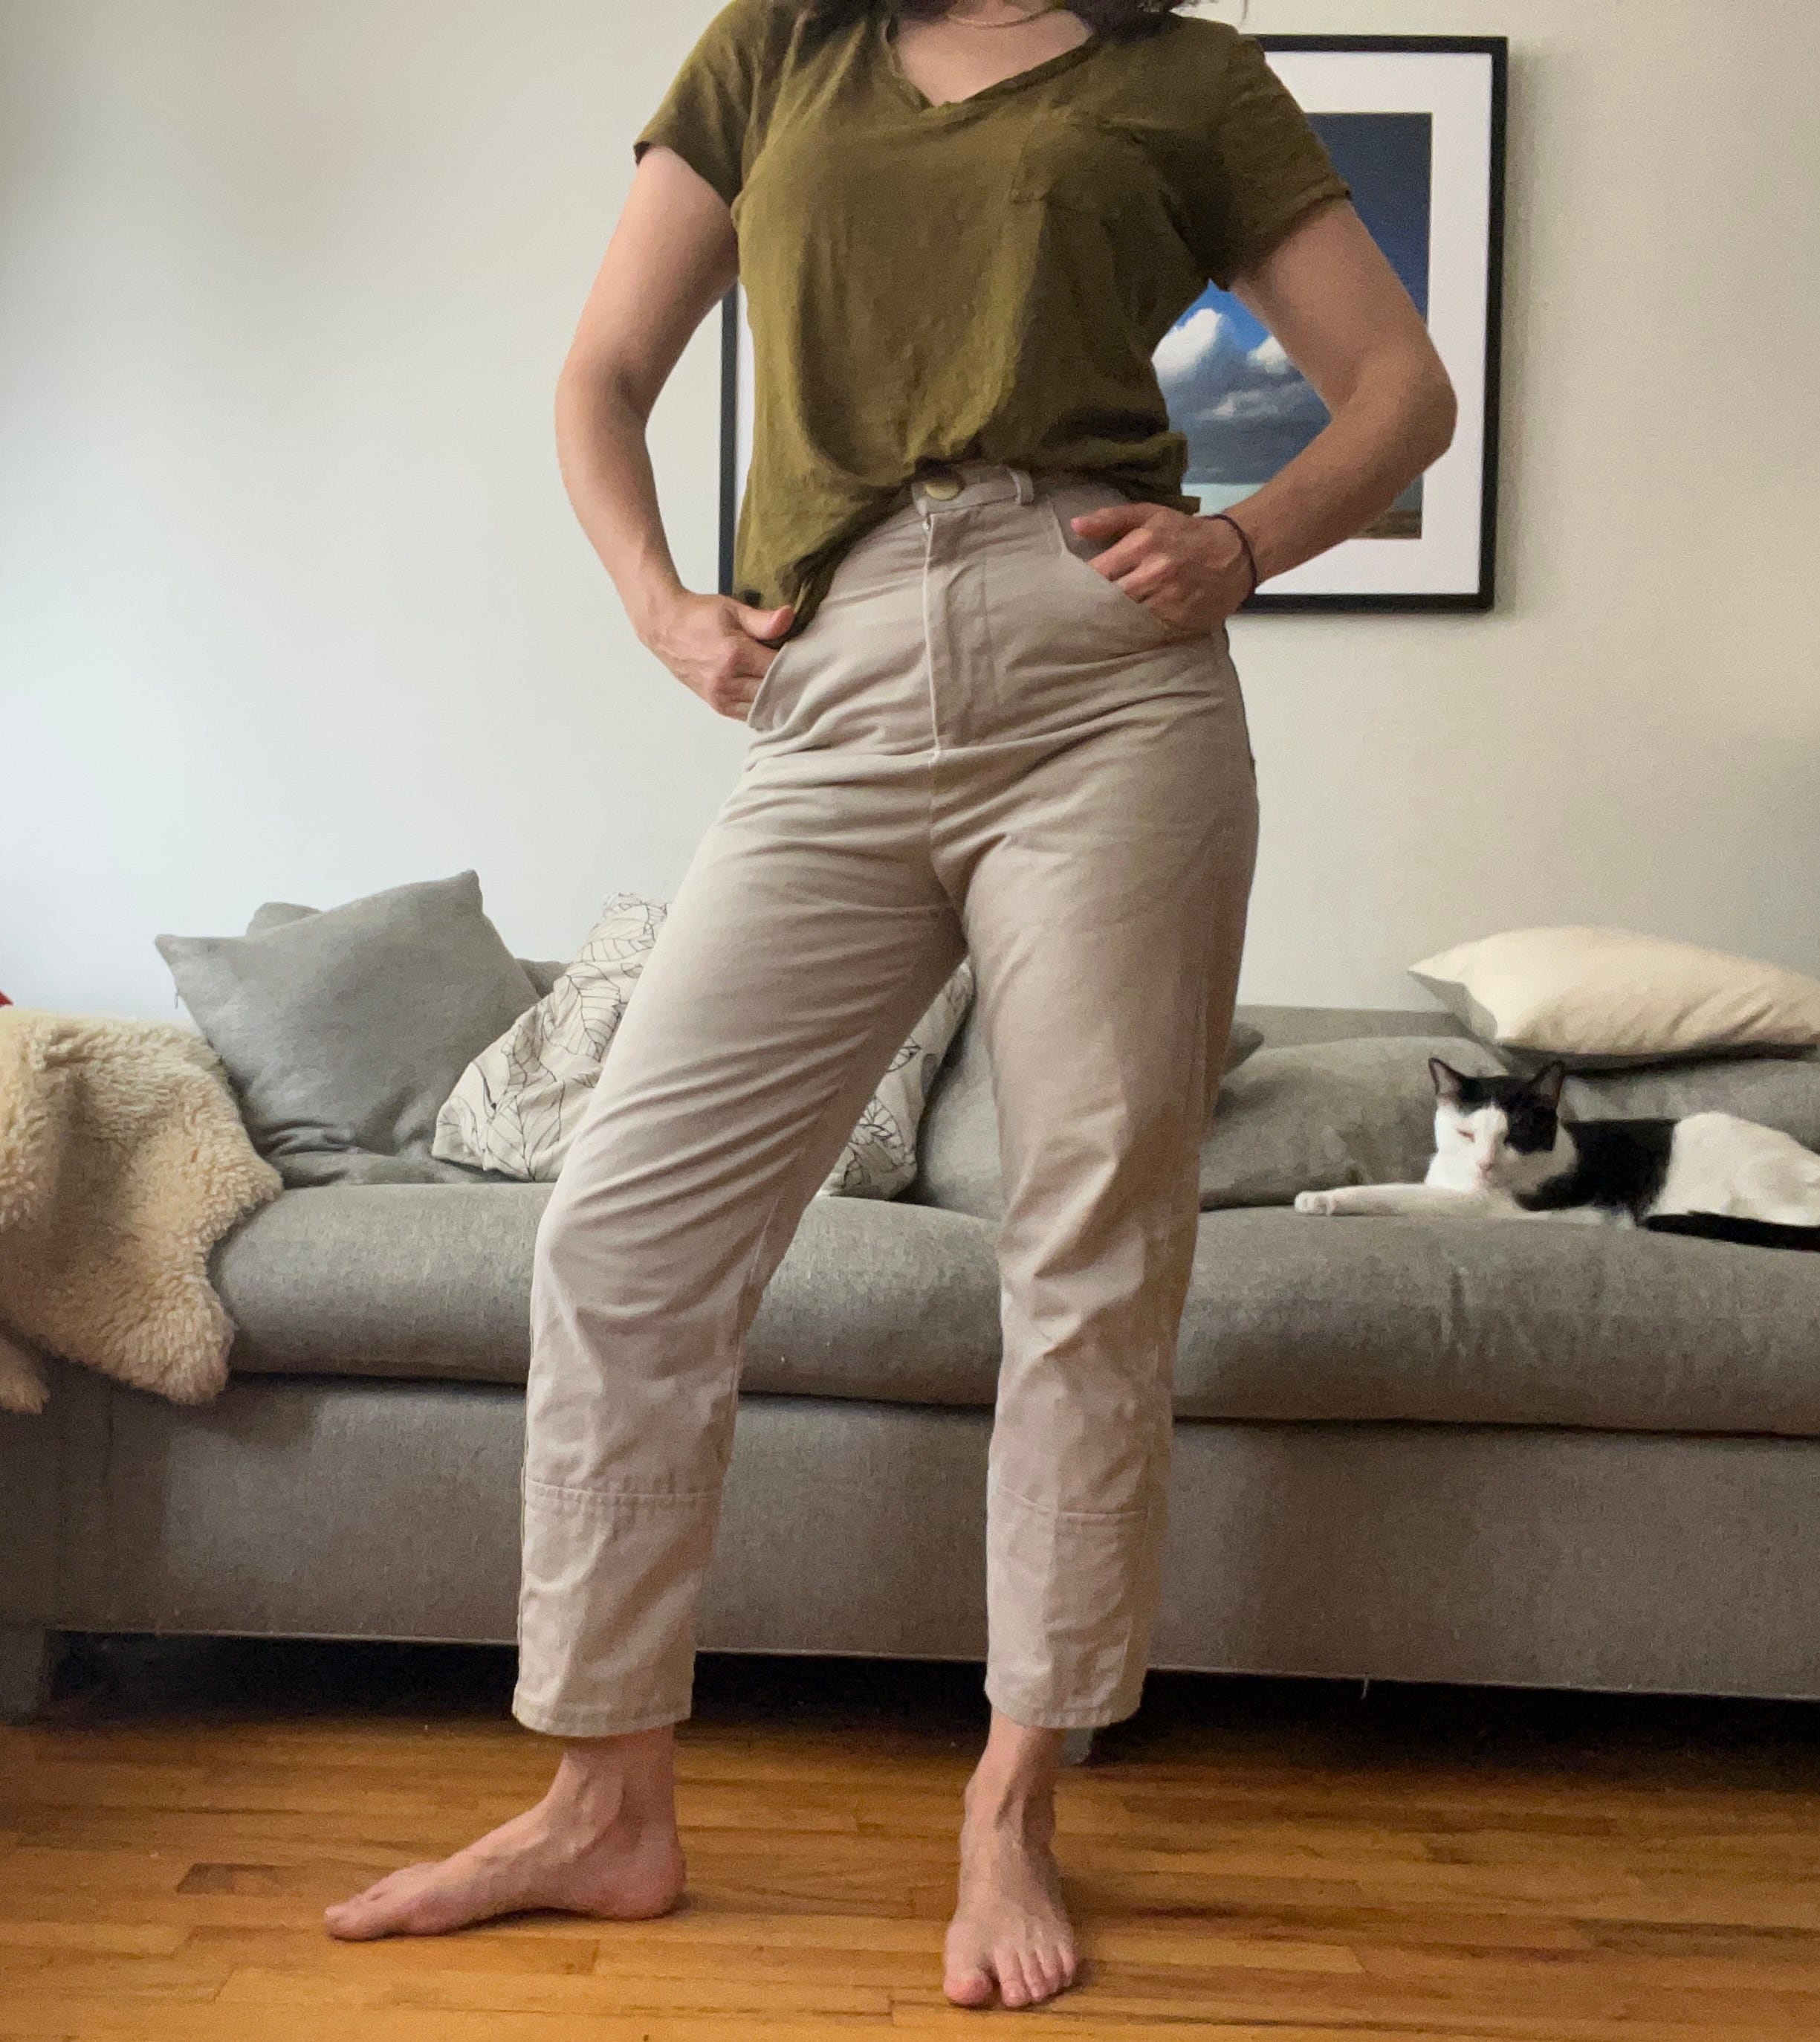
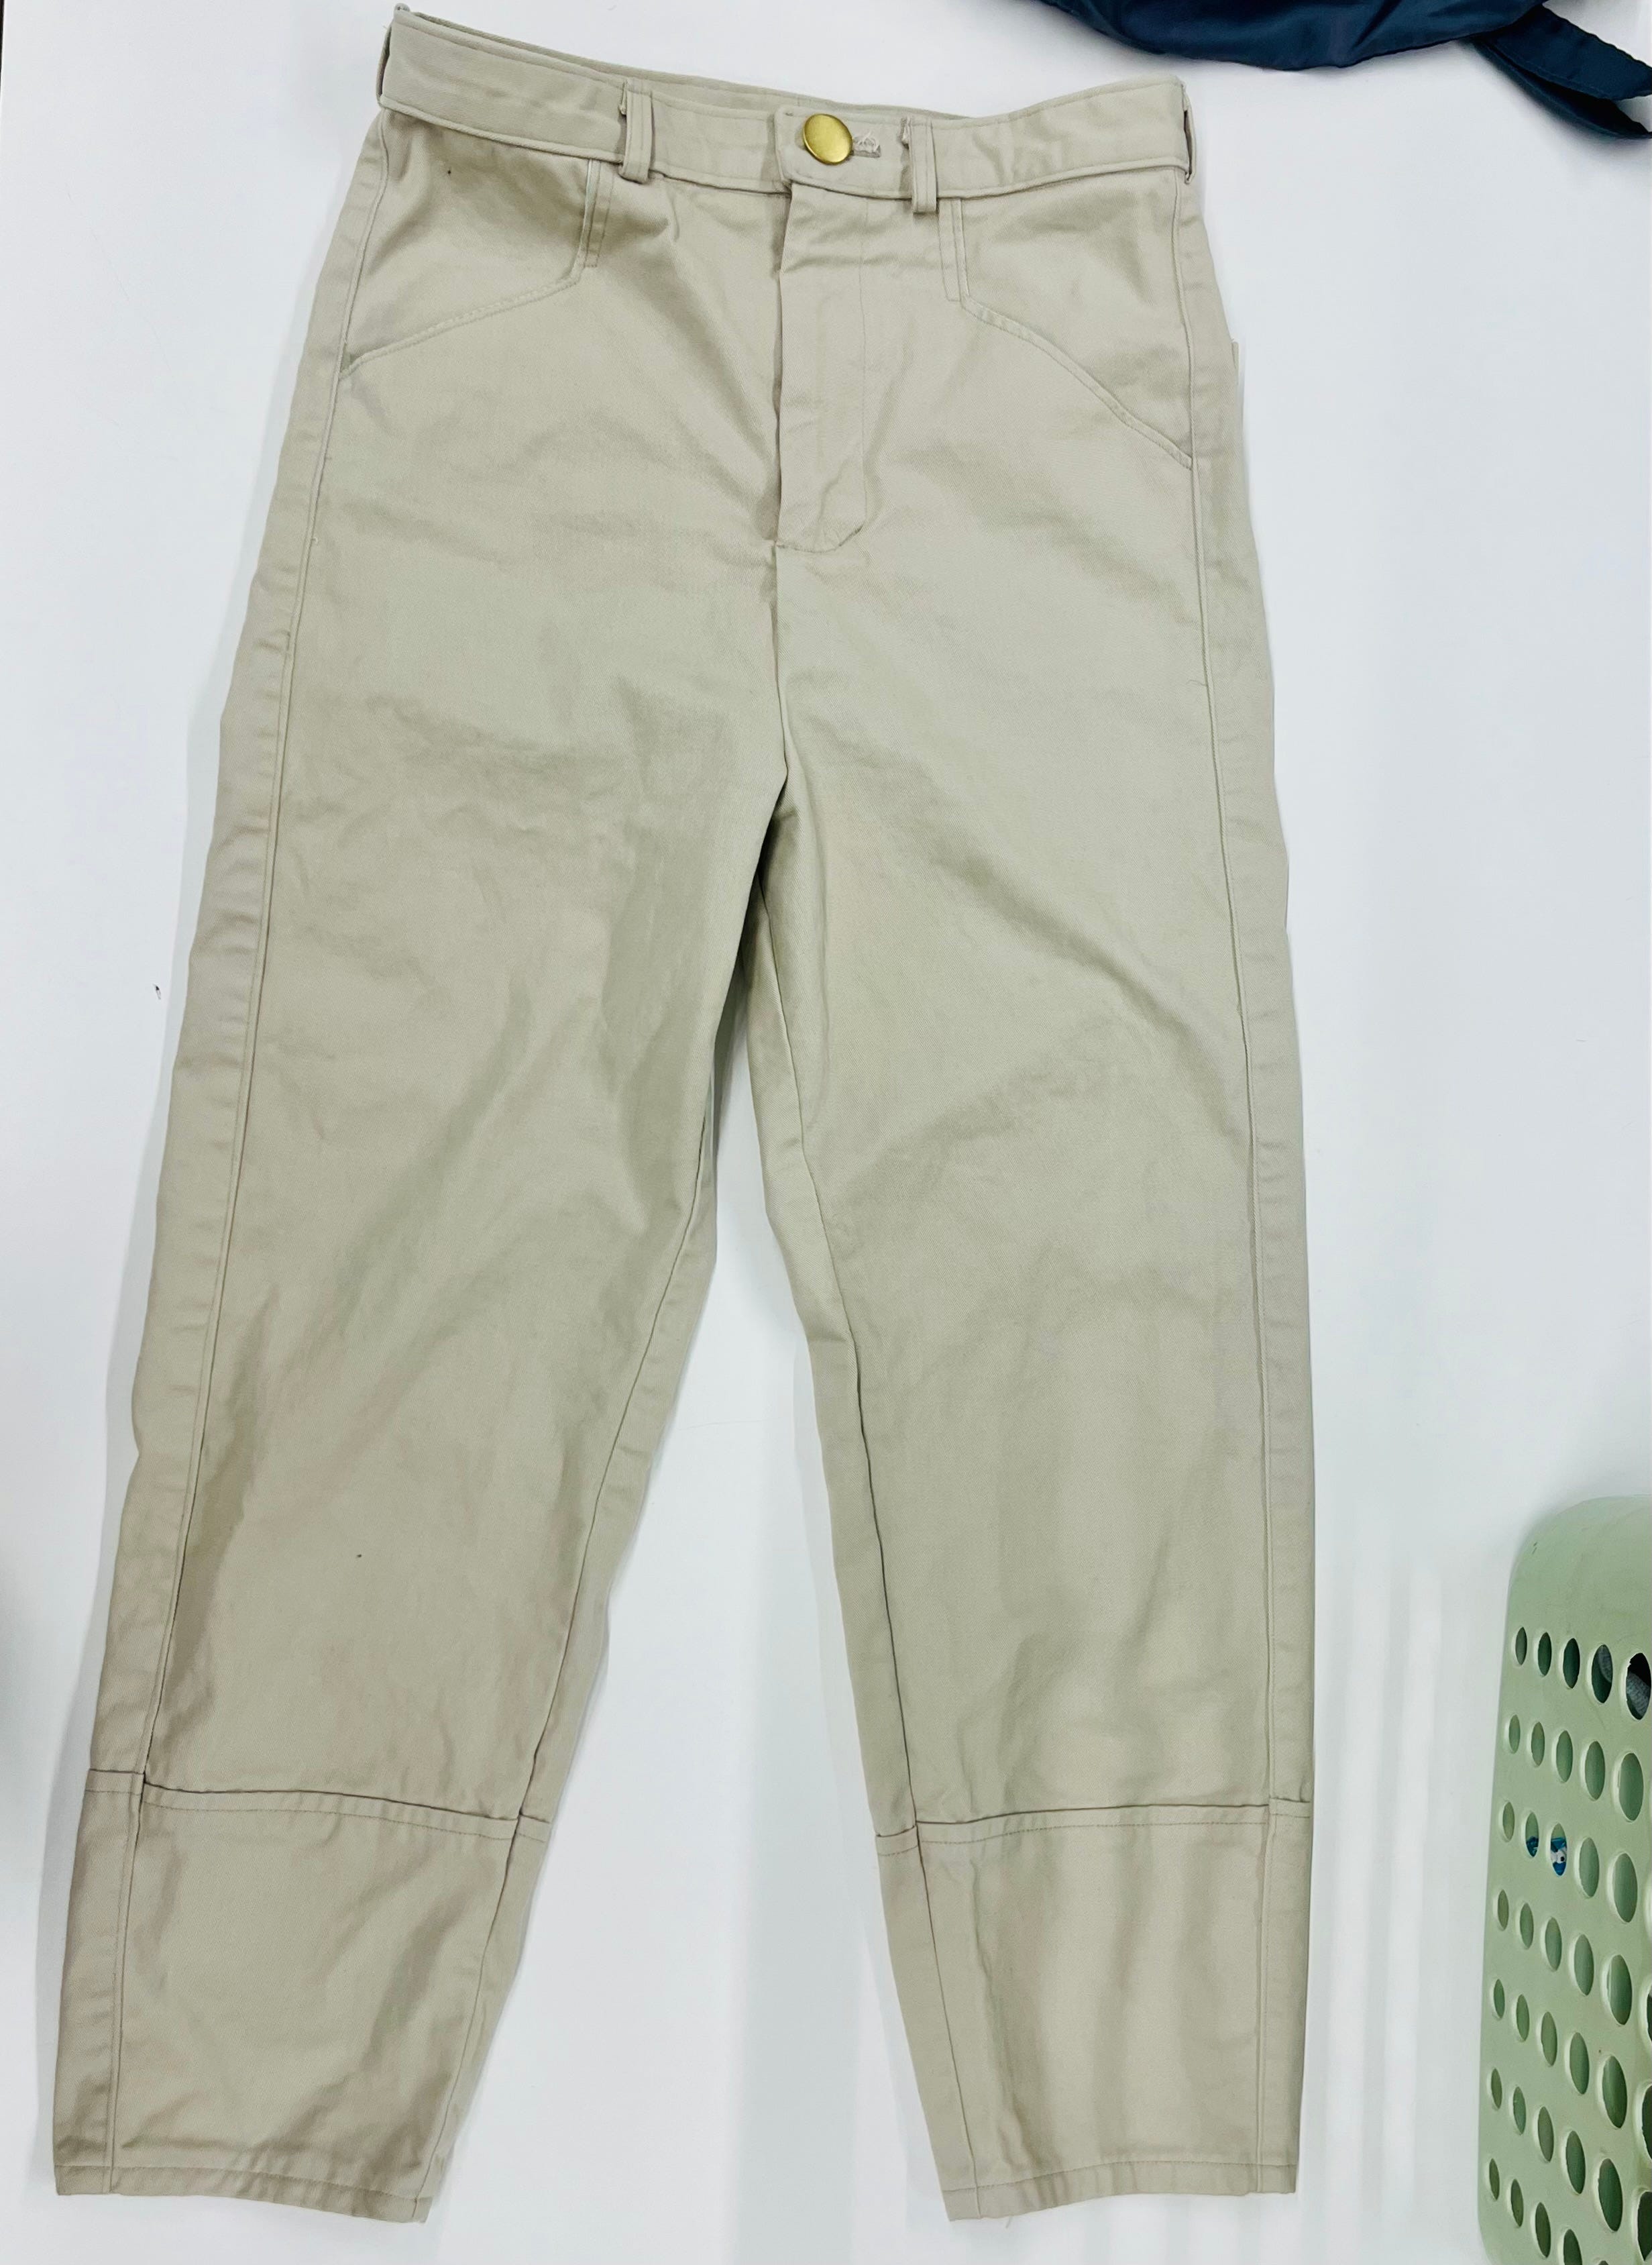
I could totally relate, on a smaller scale. I felt very confident ordering the “bone” fabric for my Shop Pants, but when it arrived I was immediately struck by the color: 90’s bar mitzvah khaki. OH NO WHAT HAVE I DONE?!!
Every creative project I’ve ever done hits a low point of hot regret about a decision I’ve made, along with heady moments of world domination. A few steps before finishing, I’m usually pretty sure this will be the best garment of my life. When I finish and try it on, I immediately see and feel all the short comings and think something like, well, I can wear it to work/while cleaning the bathroom. Then I start wearing it and I love it, in a worn in, we’ve been through a lot together kind of way. The truth is, I really do bond with each piece of clothing I make. I spend so much time thinking about it, touching the fabric, trying to make it do certain, very specific things, that I feel connected to it no matter how it turns out. When I wear it, it is infused with all that experience and personality. It vibrates on a different dimension. I’m wearing all the memories of making it, the hard work, the tiny details that only I know about, my pride in what I learned, and of all the other things going on in the background of my life while I sewed it up. It feels alive.
But lets get back to the basics. These pants were a huge skill leap for me. It was uncertain at times, but I do now have a pair of pants that cover my body. The Shop Pants pattern is for a barrel leg, high waited pant. This silhouette is everywhere now and I love the relaxedness of the fit, balanced with the tapered ankle.
The first challenge with these pants was Top Down Center Out tailoring. Based on what I’ve read, this approach to fitting pants is a vast improvement on older methods. You used to have to make a full mock up of your pants and then wear them and study the wrinkle lines to see what adjustments you needed. Then you would make another mock up with the adjustments and see if it was better, and on and on until you finally got it somewhere close to acceptable. You might have to make a “knock knee” or “full thigh” adjustment, and if things were really dire, you would forge ahead with the dreaded crotch scoop. In addition to dripping with body shaming terminology, these adjustments involved editing out slices of fabric at the knee or waist and could really alter the intended fit and design of the pants.
Then, a woman named Ruth Collins, aka Ithaca Maven, arrived on the scene and revolutionized pants fitting. In her method, you fit the waistband first, finding where on your body you want it to rest and how loose or tight you like it. From there, you make 1 leg of the pants leaving extra material at the top and side. You pin the pant leg to the waist band but can adjust it up or down depending on how much volume your body is taking up. You can also move the side seam out or in so it falls as you would like over your hip and leg. You then copy your new measurements onto the pattern and off you go. The approach is simpler, saner and, good news, there is no crotch scooping.
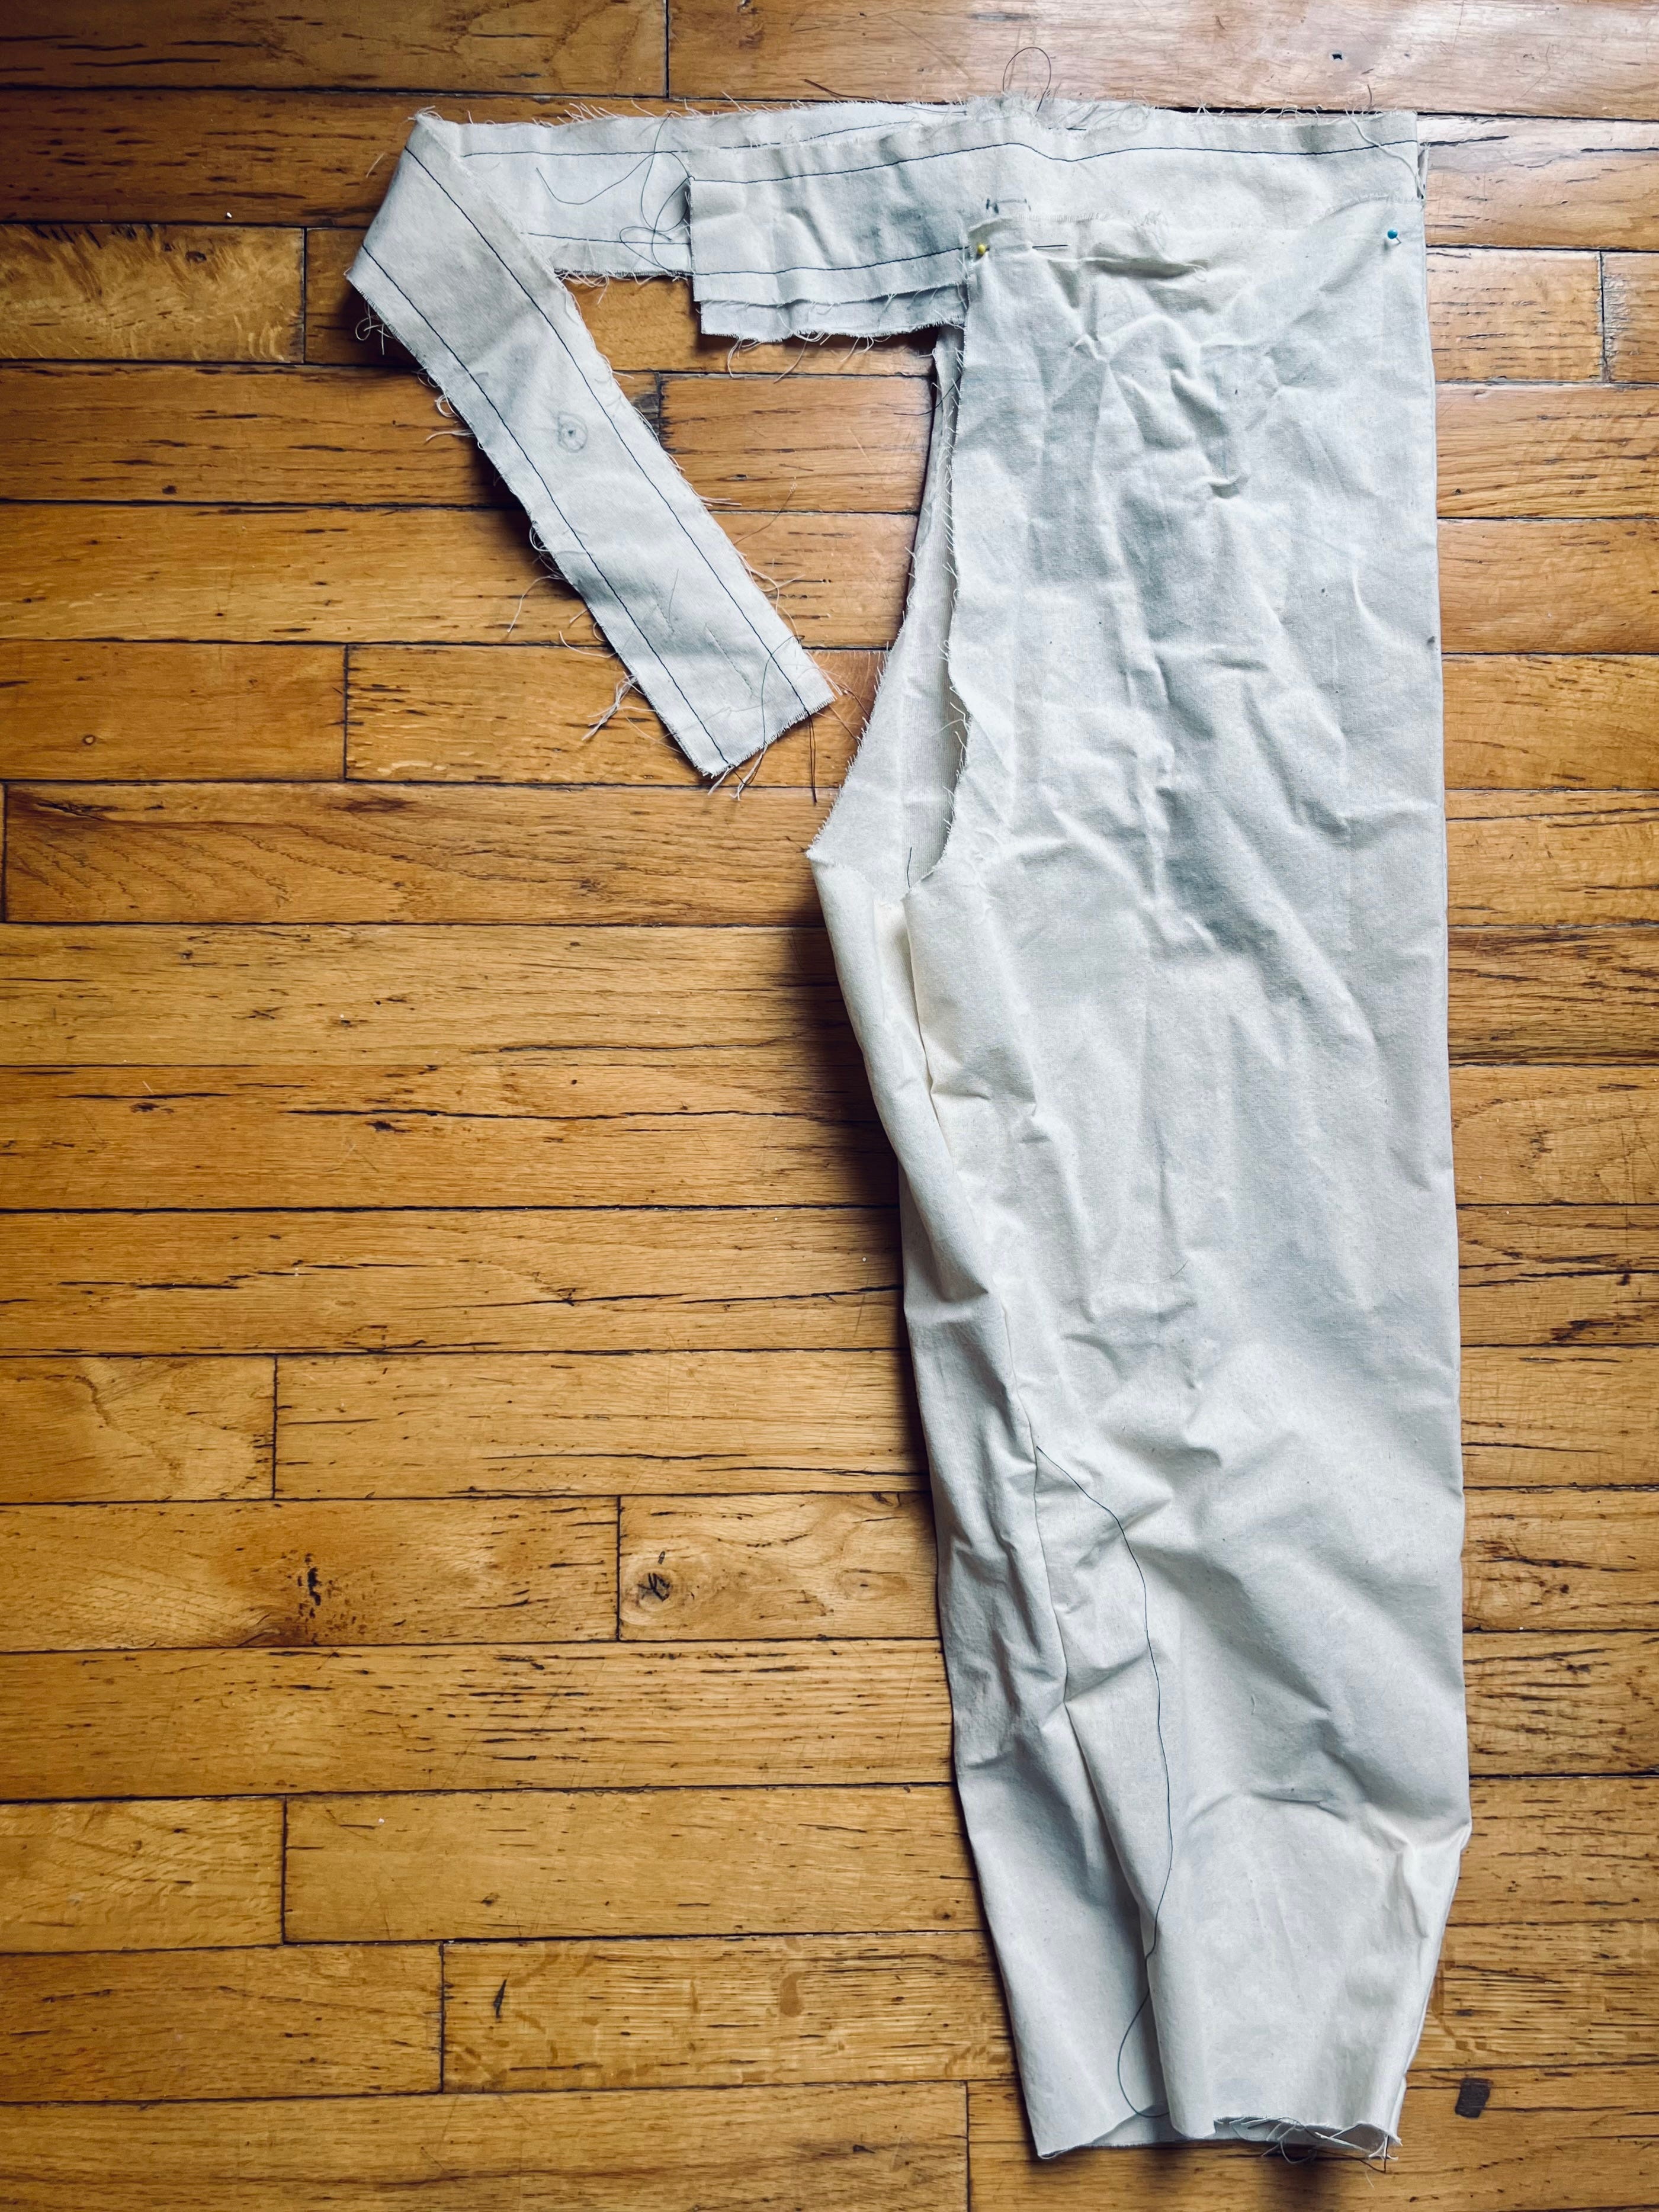
I made a muslin toile of one leg and the waistband. Based on my fitting I decided to add 2 inches to the front and 2.5 inches to the back, grading in between so they would connect smoothly. In retrospect, it was too much, but more on that later.
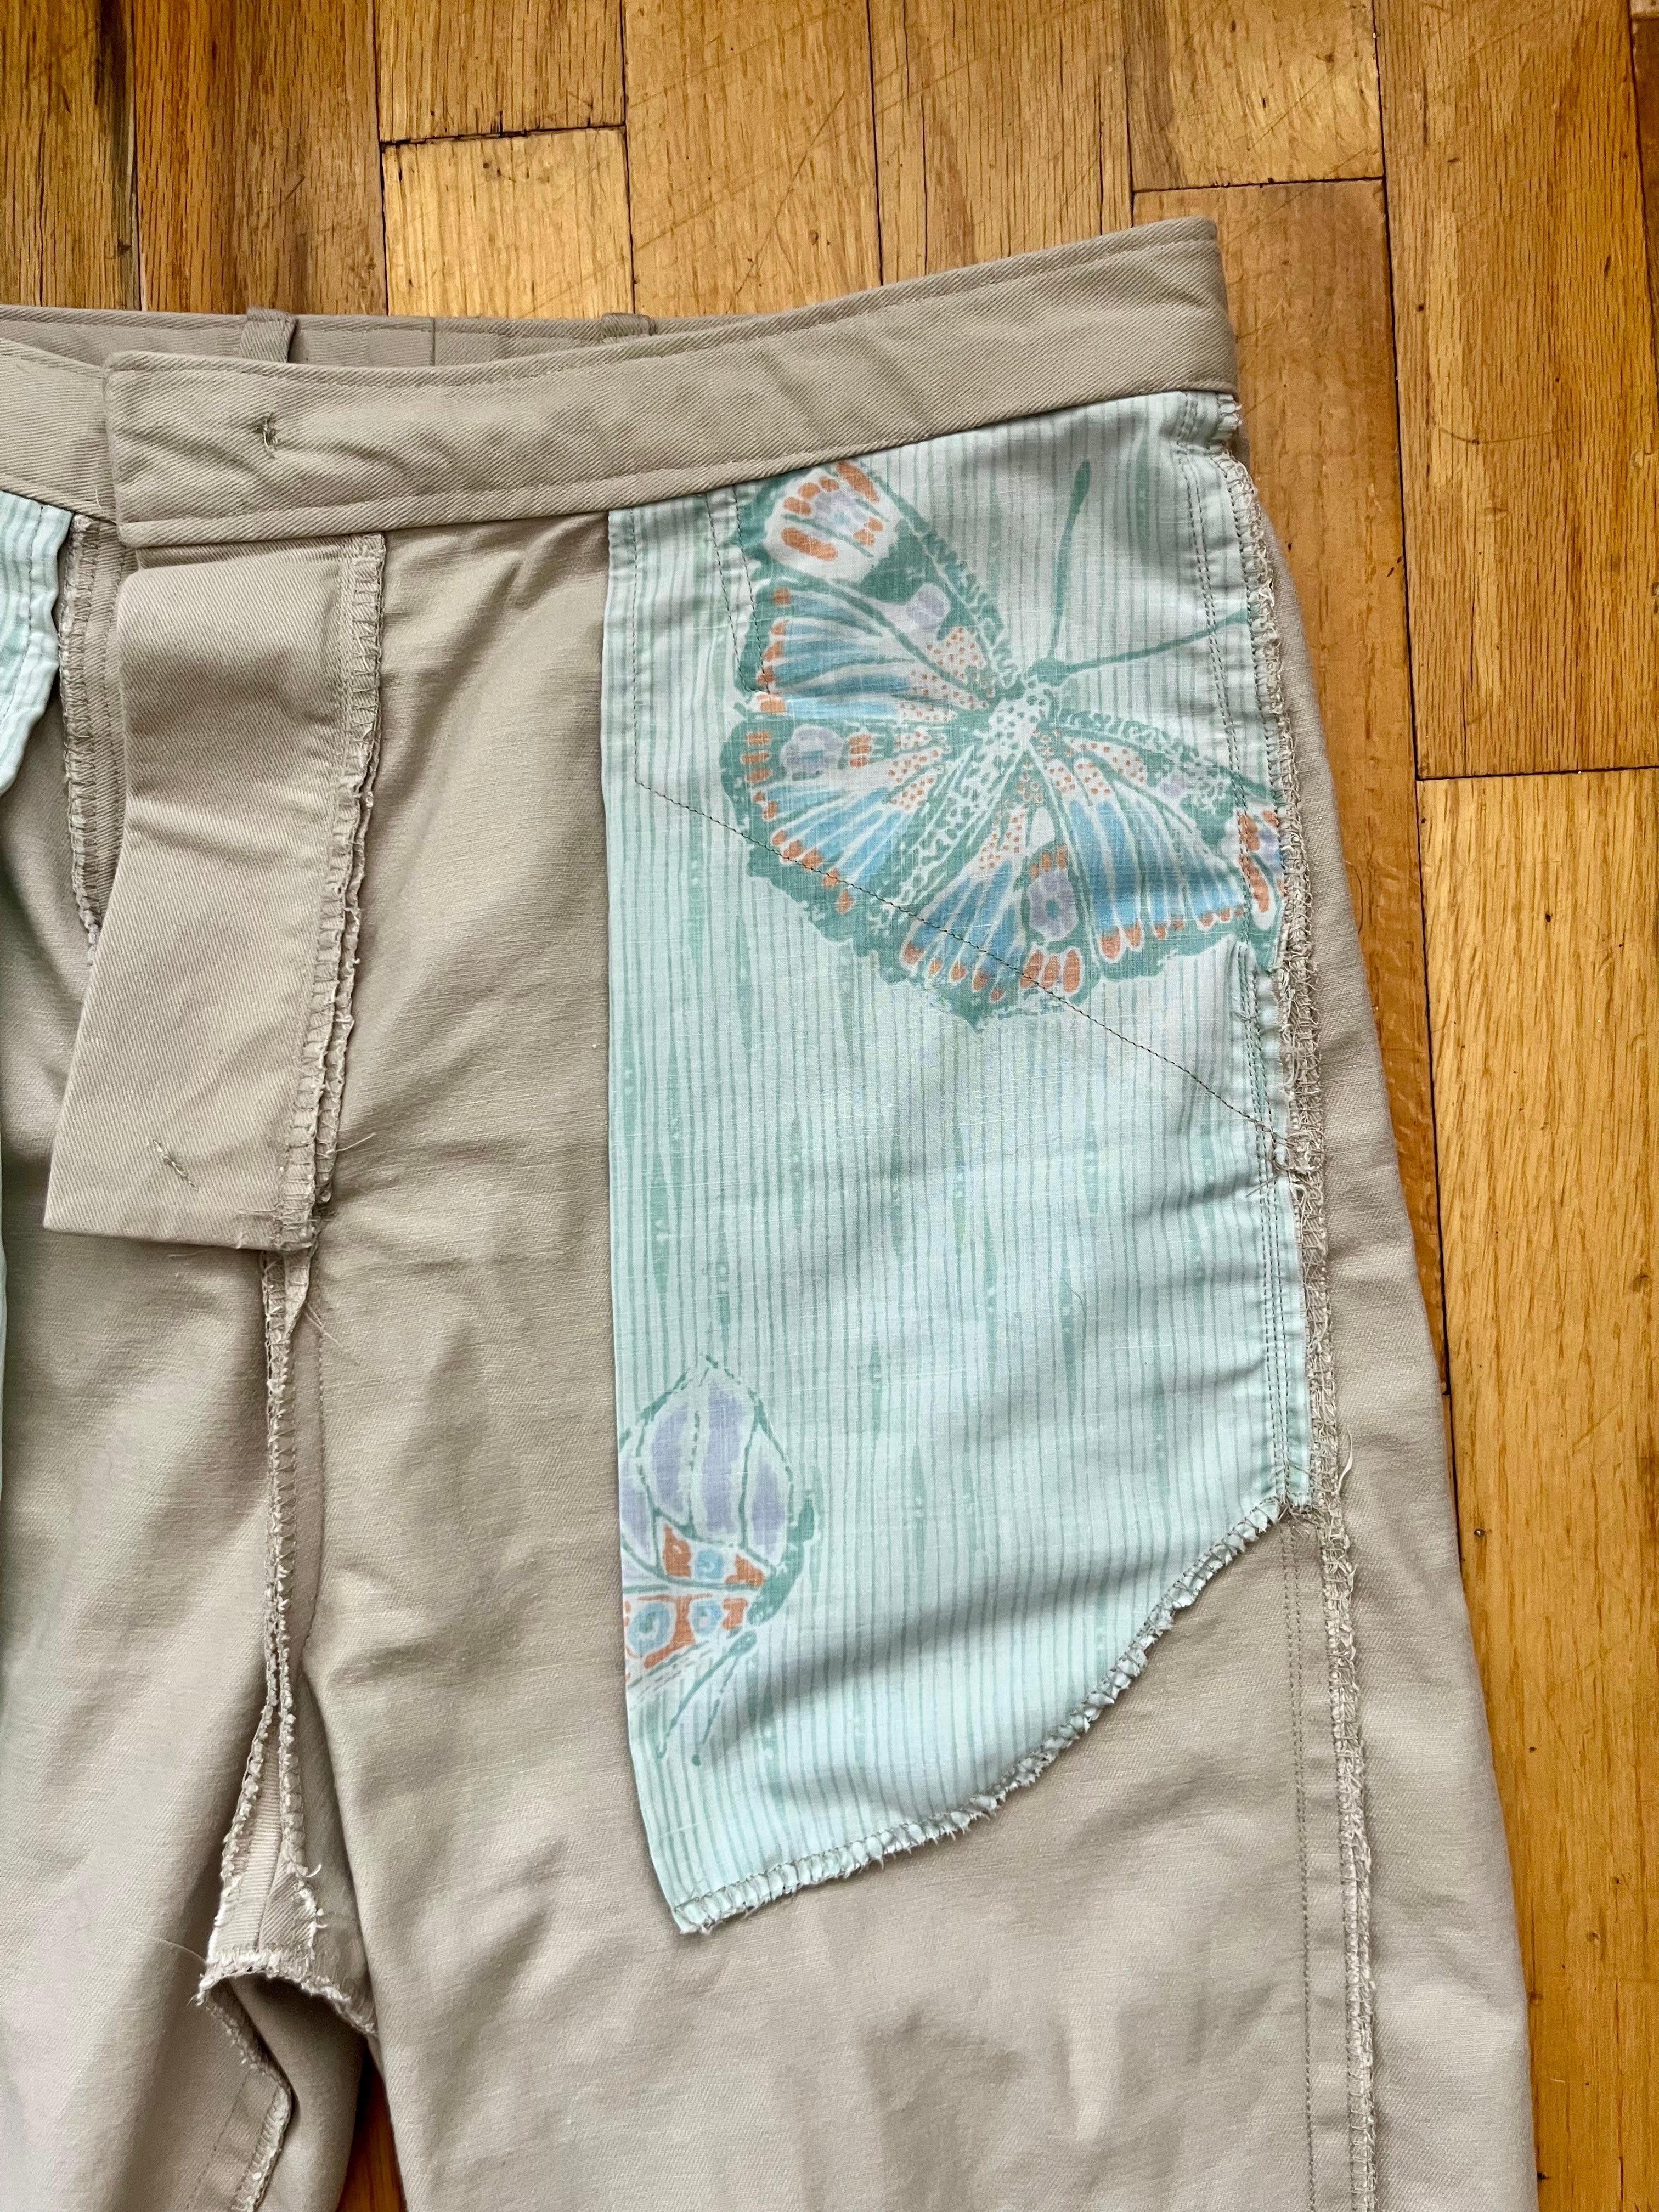
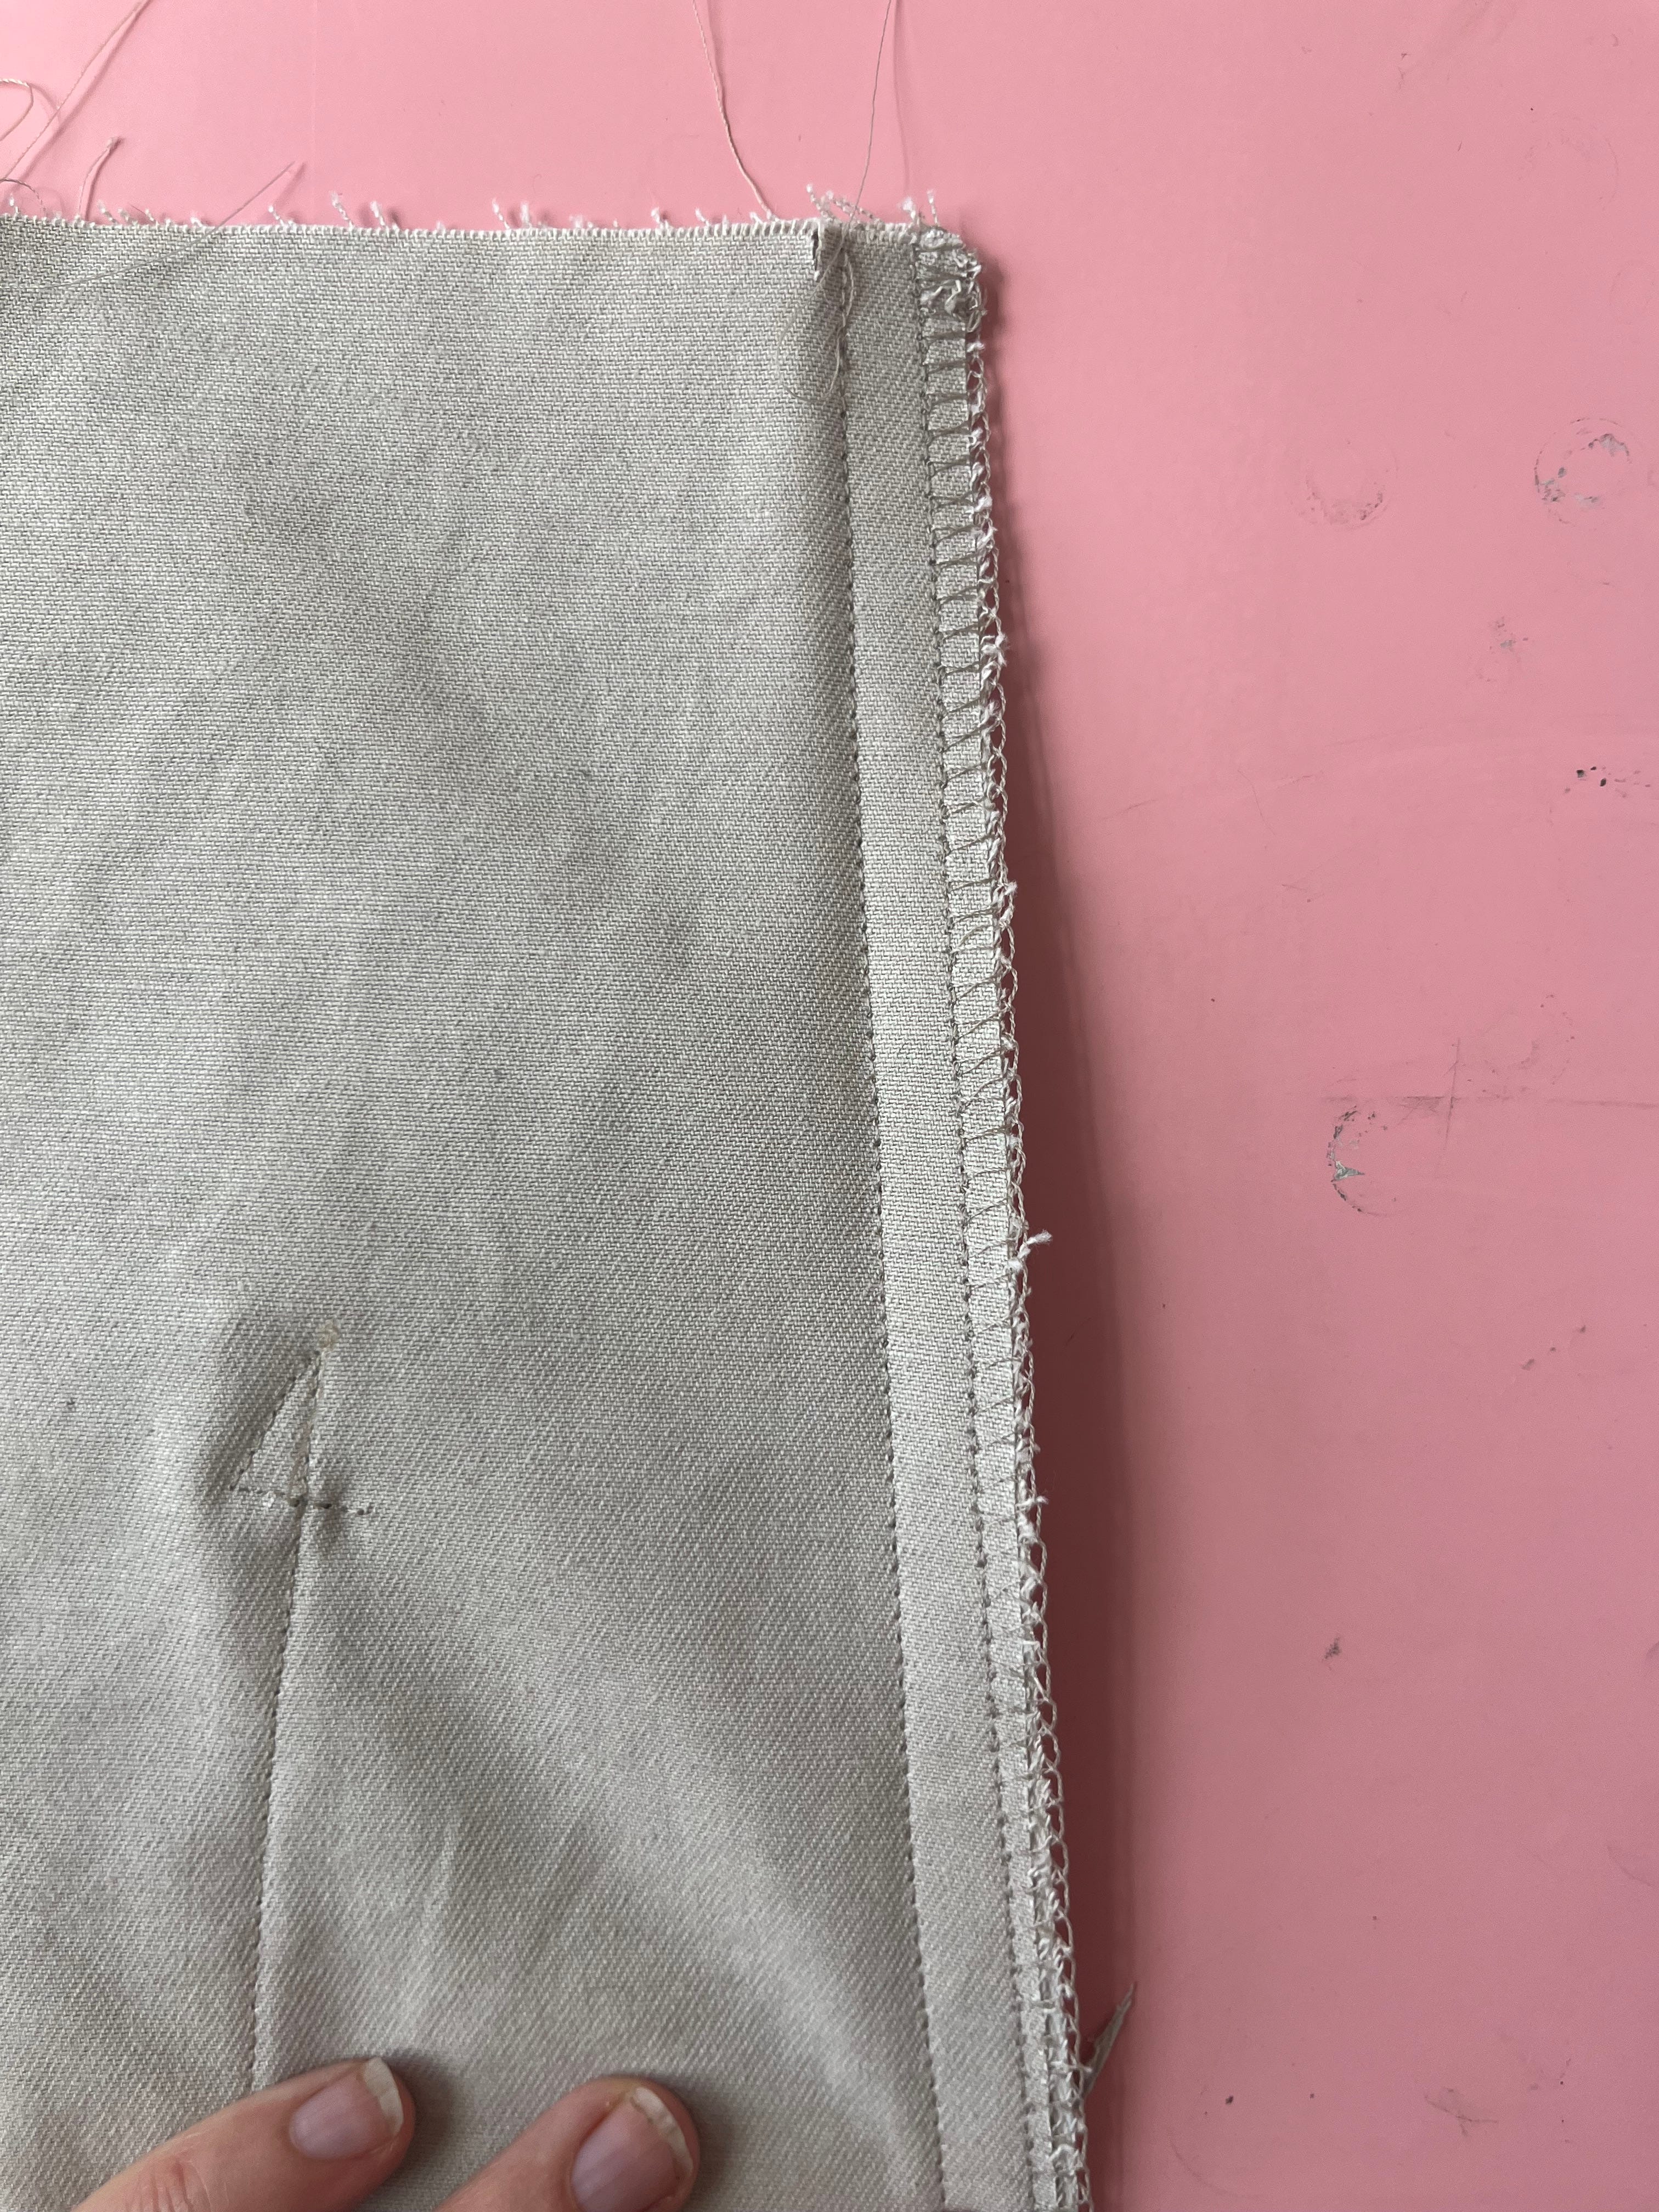
My second challenge was the construction. I had never done front jeans pockets or a zipper fly. My new machine has 3 set speeds and I started on the middle speed. It was too fast. I switched to the slowest setting and it was, as Goldilocks would say, just right. It felt great. My whole body relaxed and I started to breath slower. While plodding along, I had so much control over the fabric. I could even take a sip of tea while guiding the fabric with one hand. Paradise!
I also got to use many of the fancy speciality feet. I used the zipper foot and the buttonhole foot, and also an overcast and faux overlock foot which both mimic a serger. Both of the serger-like options gave the fabric such a professional finish. It was such a thrill. (Do not tell Goldilocks, but they both had a guiding edge so I did pump up the speed when using those).
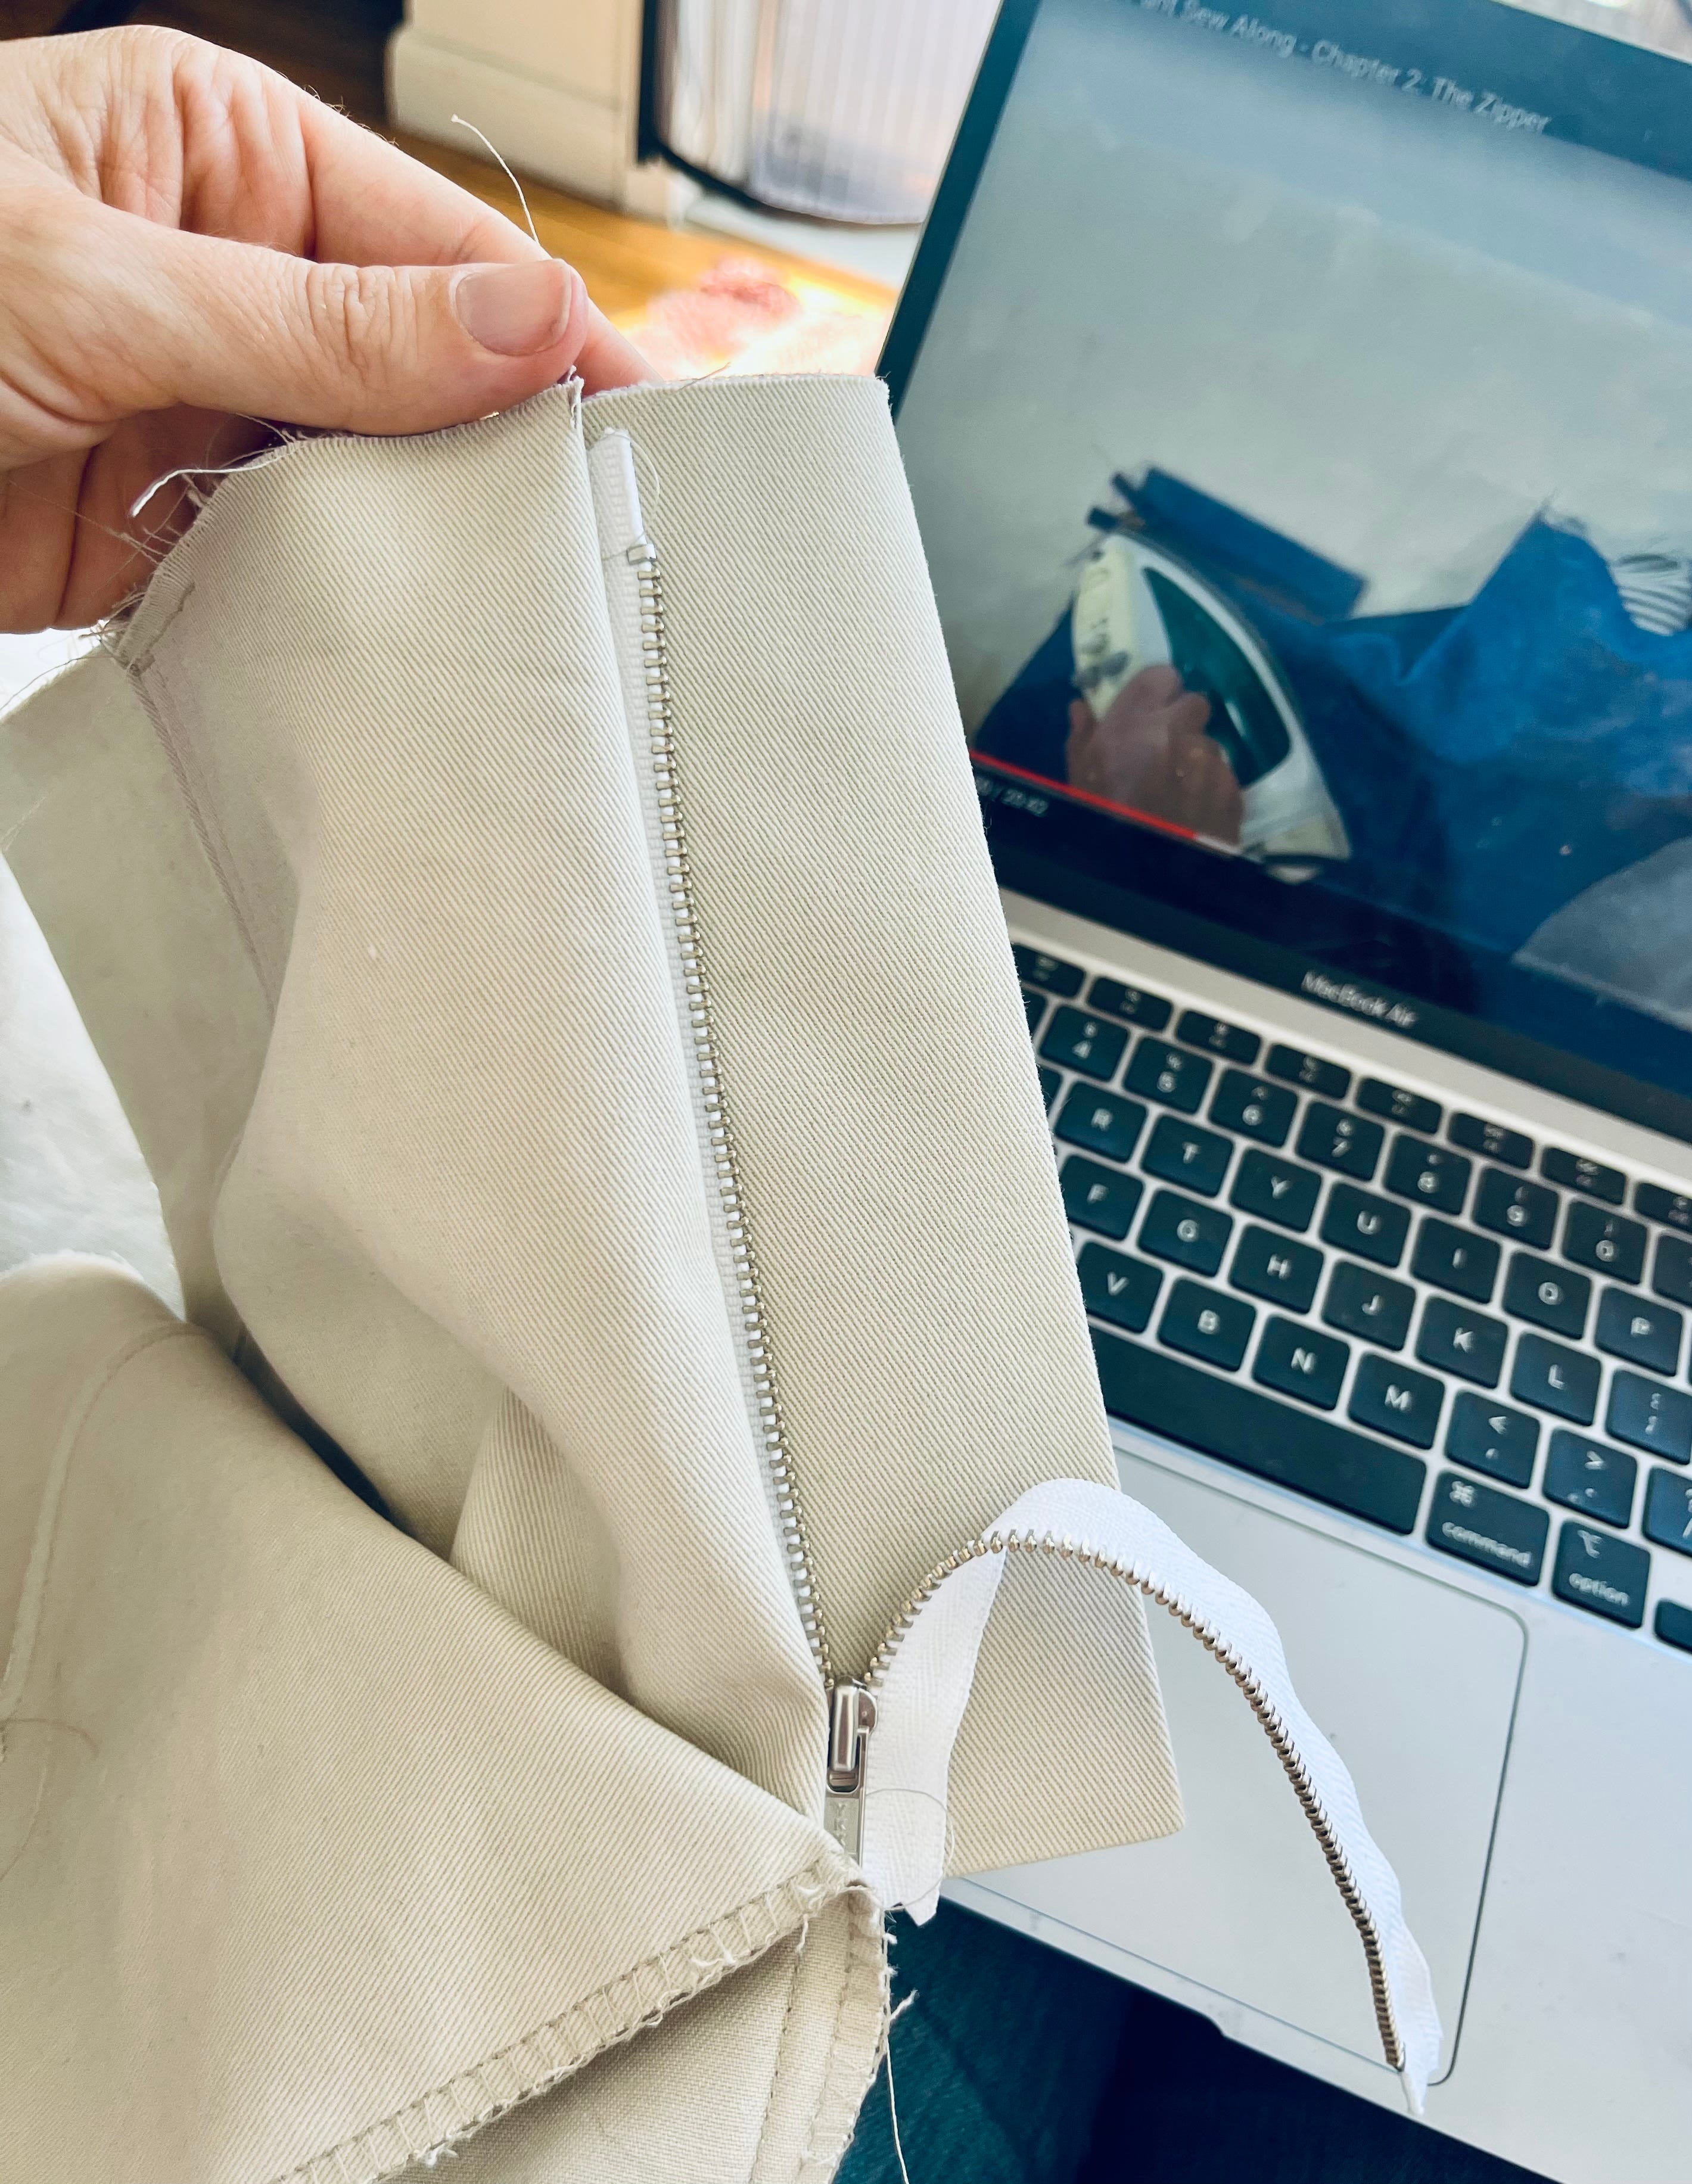
The zipper construction was a little tricky but not confusing. I didn’t put anything on backwards or upside down. The finished product definitely looks exactly like a pair of pants with a zipper fly, though now having practiced it once, I’m hoping my next one will look a bit smoother.
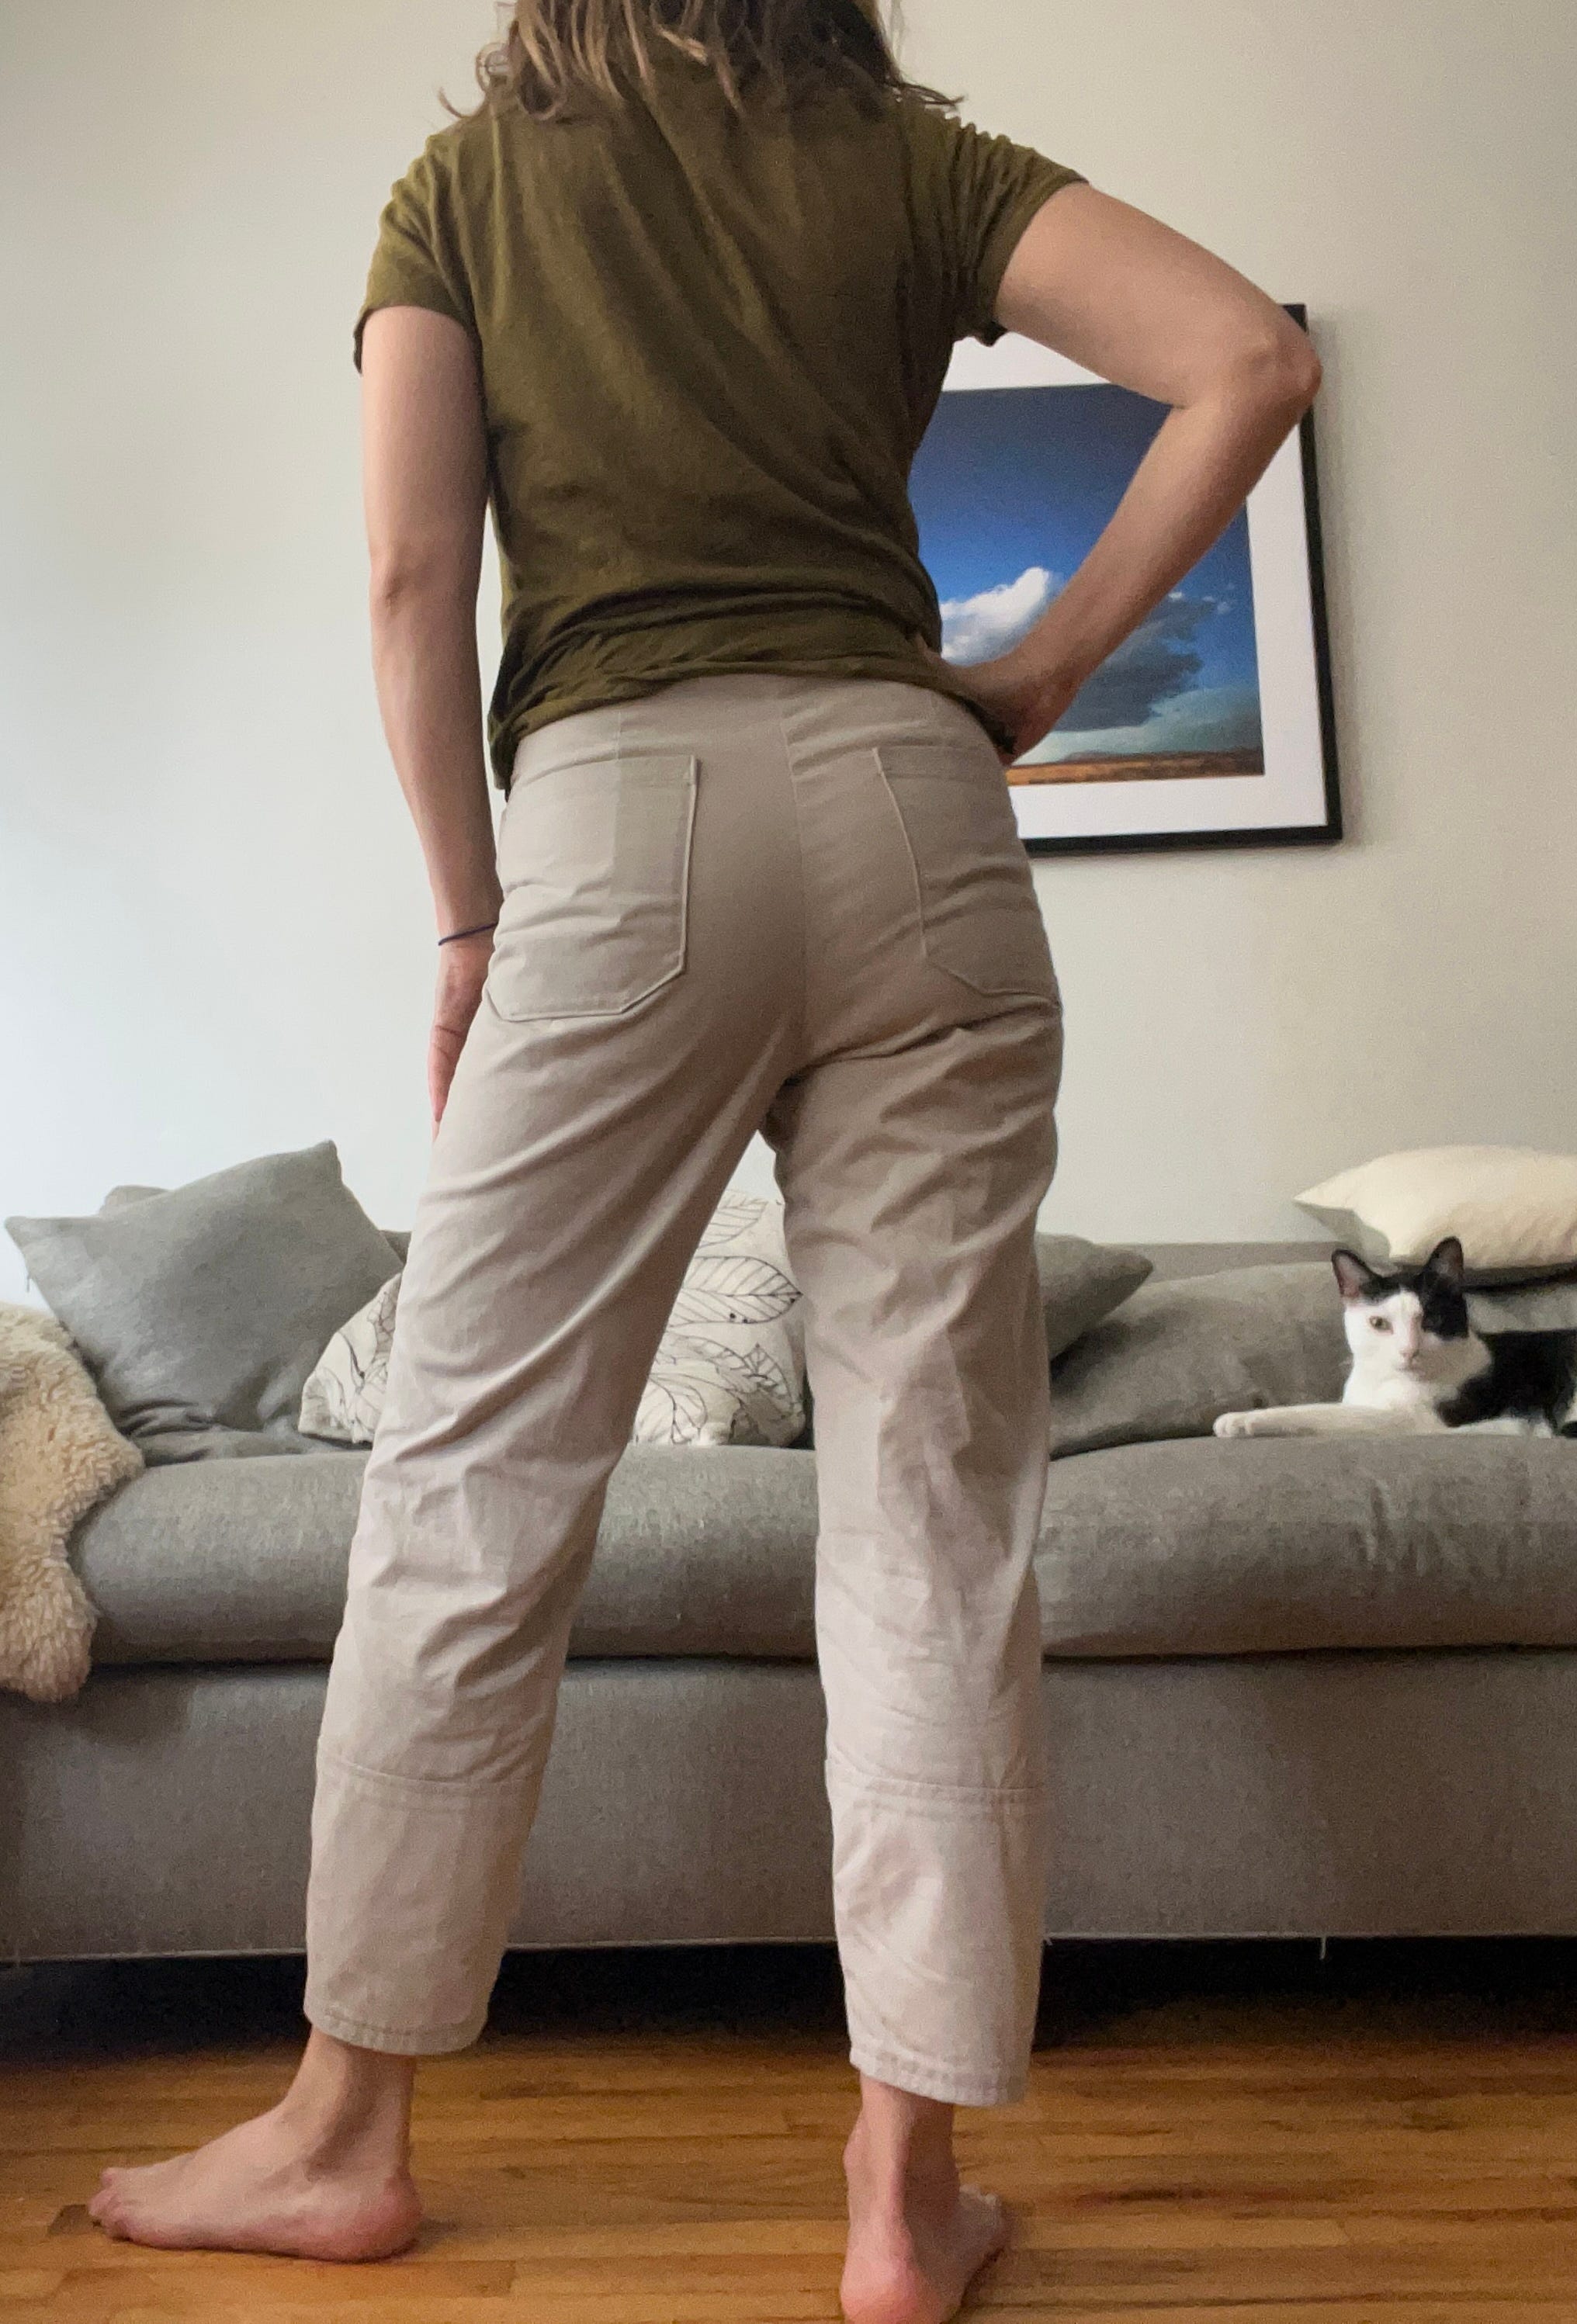
The waist line is pretty high up there. Not exactly nipple skimming but let’s just say I'm extremely safe from any plumber’s butt concerns. I think adding 1 inch at the rise all around (instead of 2) would have been enough for my longer torso, and I did not need to add the additional 1/2 in the back. I don’t quite know how to make sense of my toile fit and the final piece, because it really did seem like those were the adjustments I needed. But I just have faith that I’ll get better at it as I go. The fit is incredibly comfortable. The fabric is soft. Turns out I love the color and am slowly expanding my beige empire.
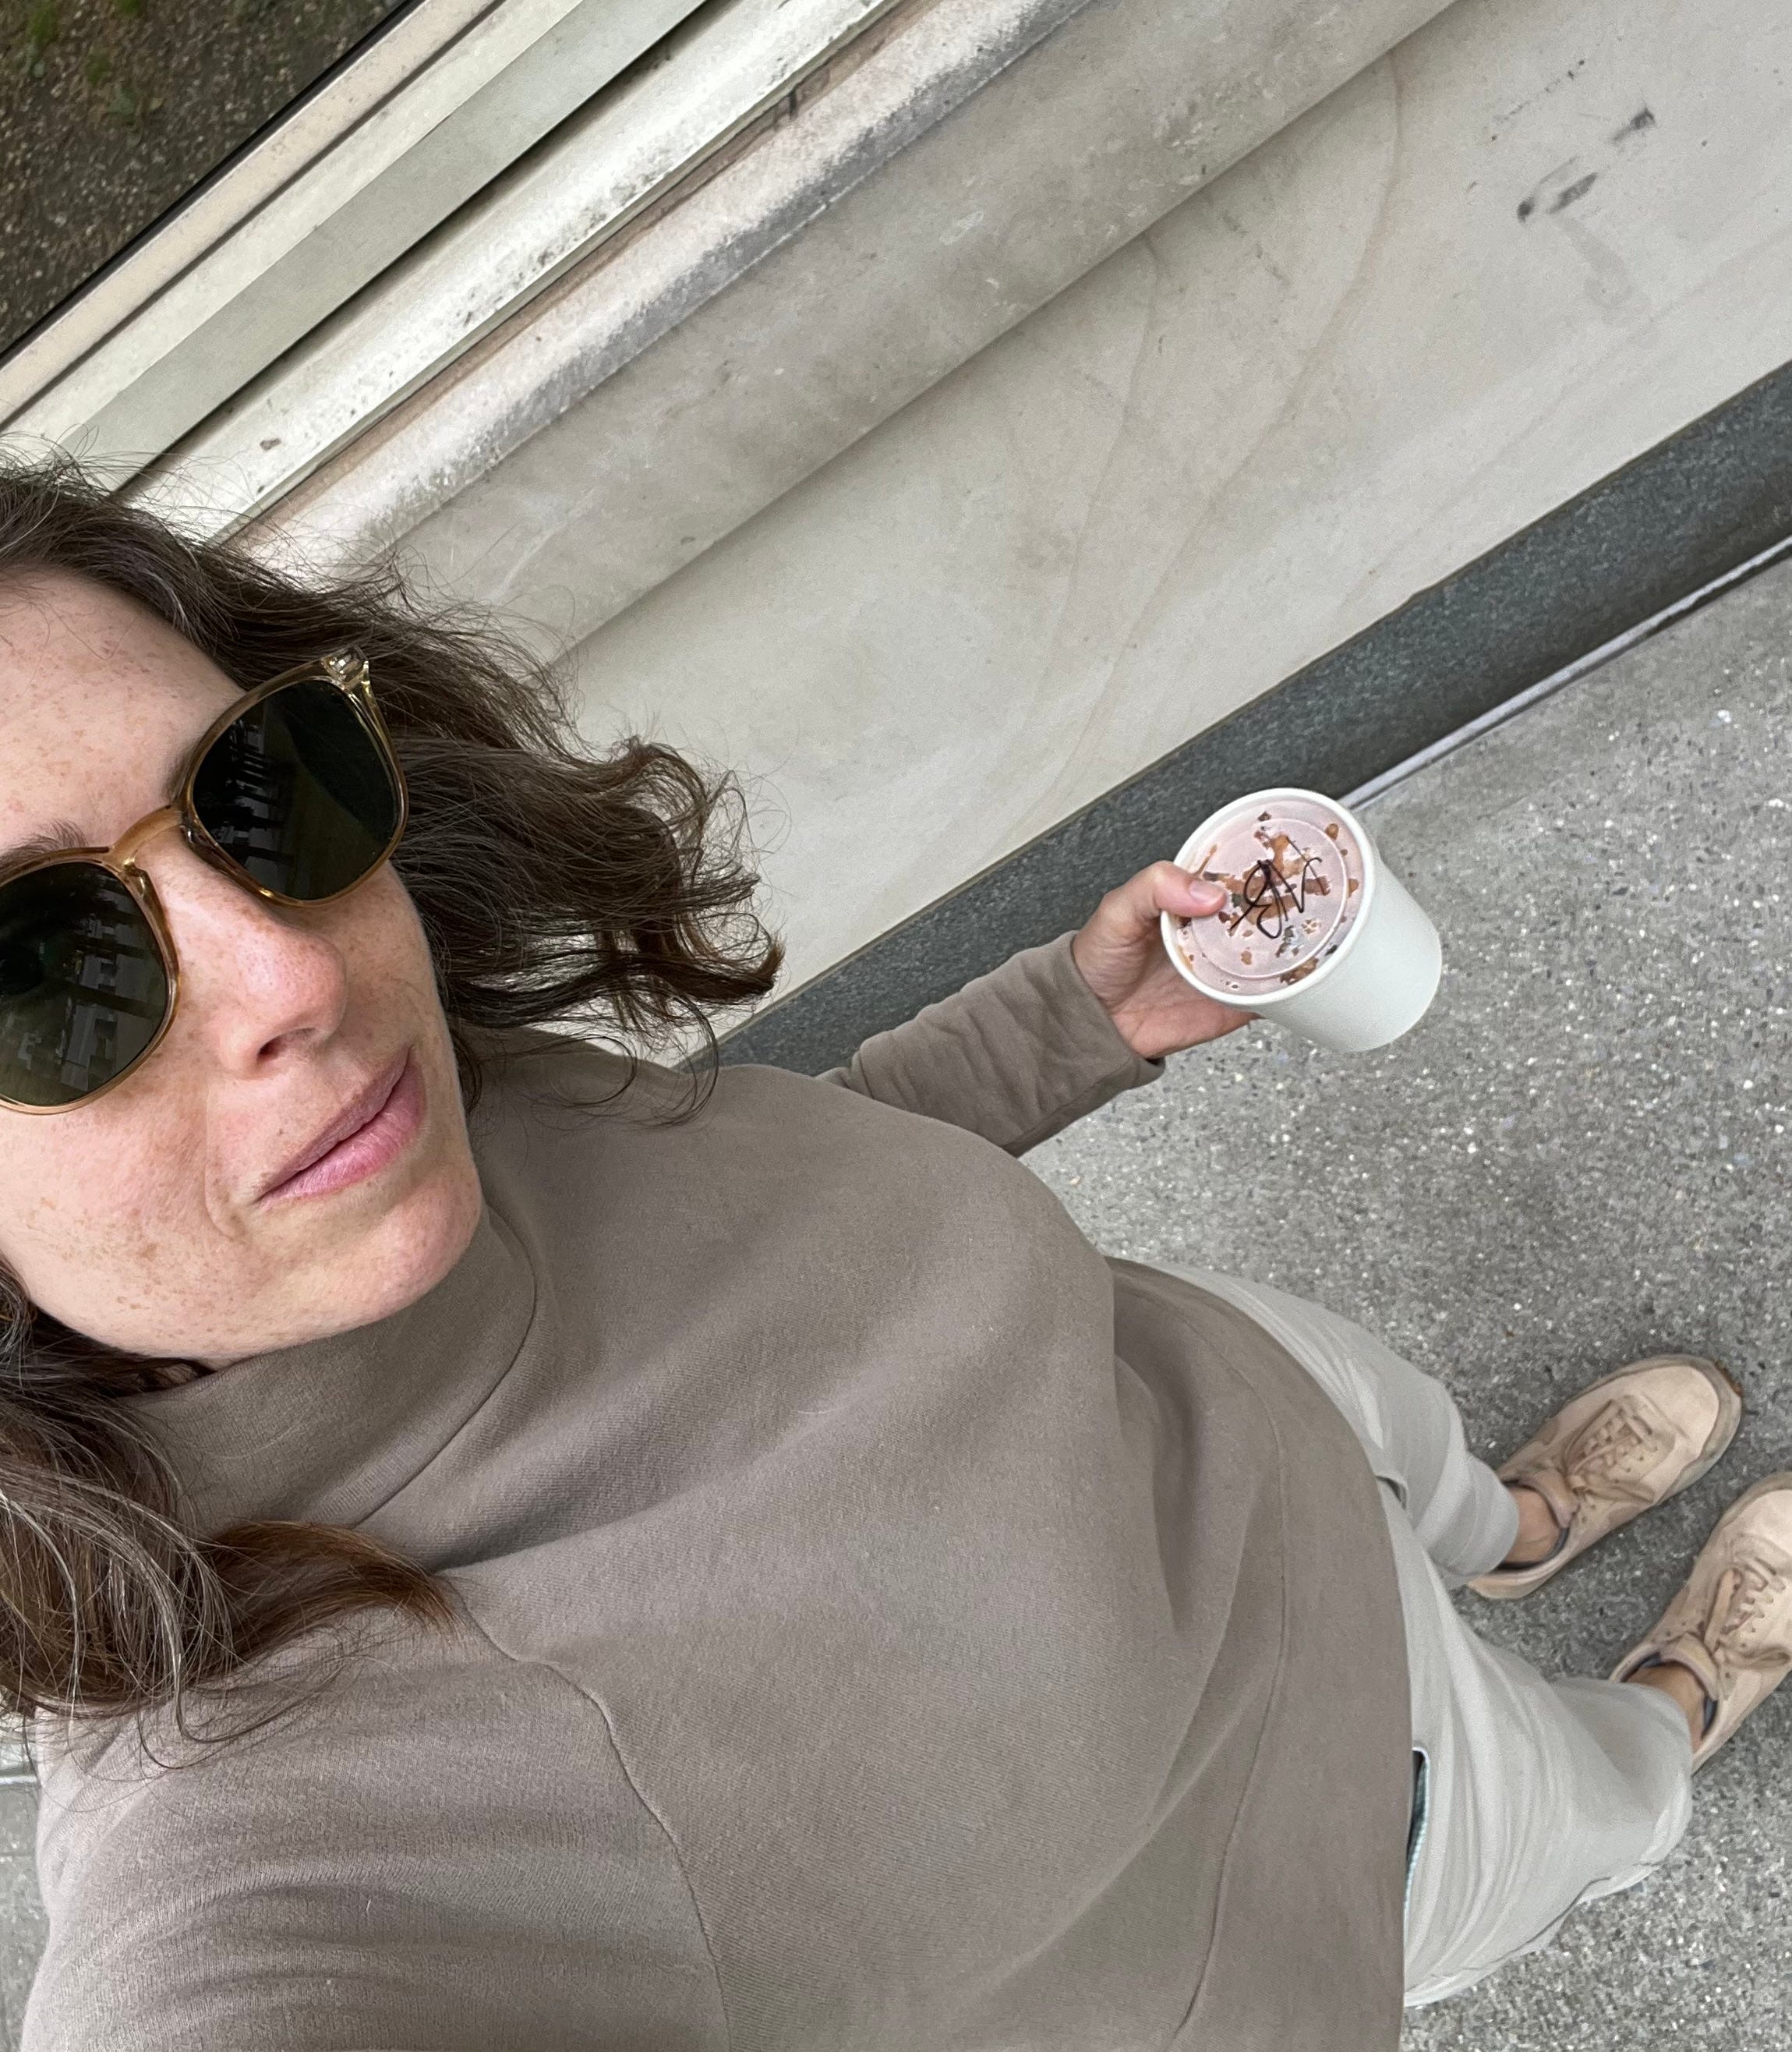
Resources used in the making of these pants:
Open Studio’s Shop Pant Pattern
Crooked Hem’s Video Series of Top Down Center Out Method
Open Studio’s Sew Along Video Series
Thank you to all the makers out there!
It's so perfect as we have just been doing the Shop Pants now in the MPWM! I am wearing mine right now and I definitely want to make another pair, the design is excellent!
Wow wow wow, what great pants and a lovely write-up, thank you for trying out the TDCO approach!